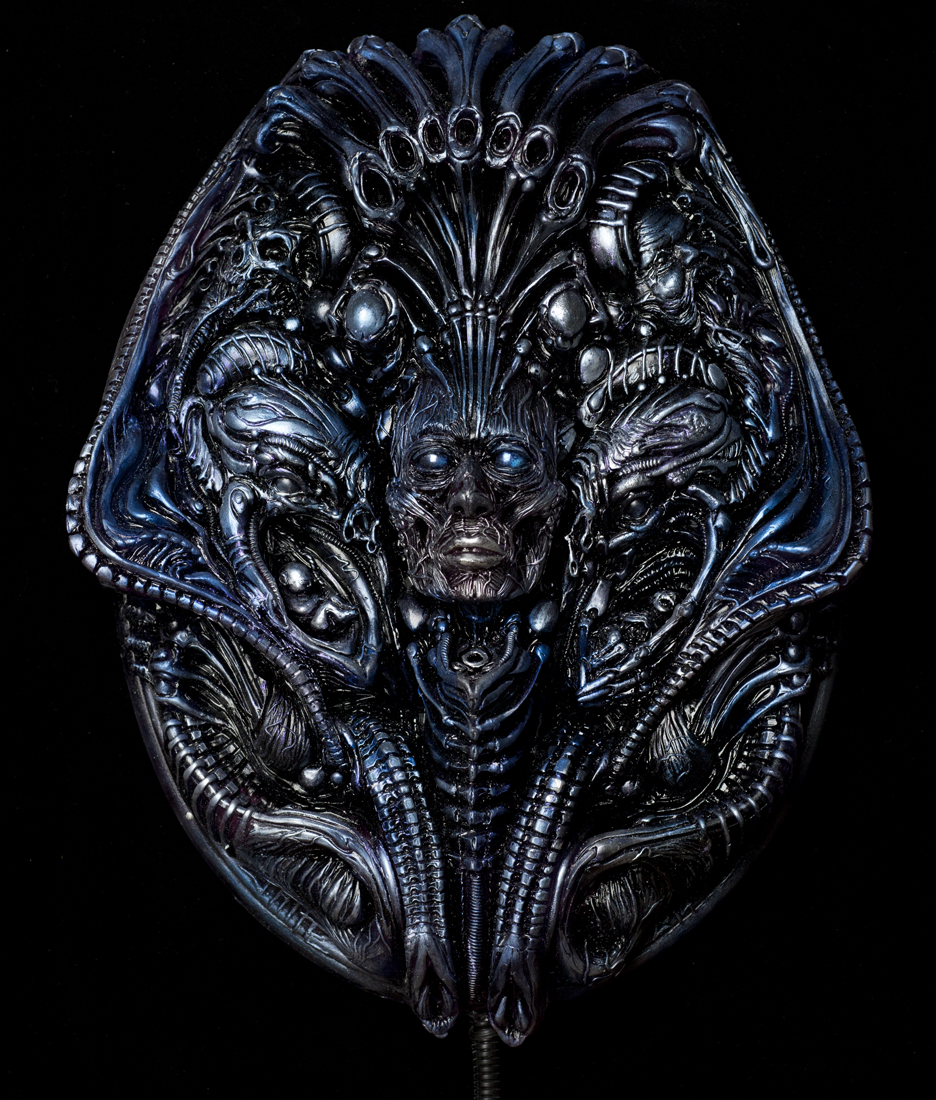
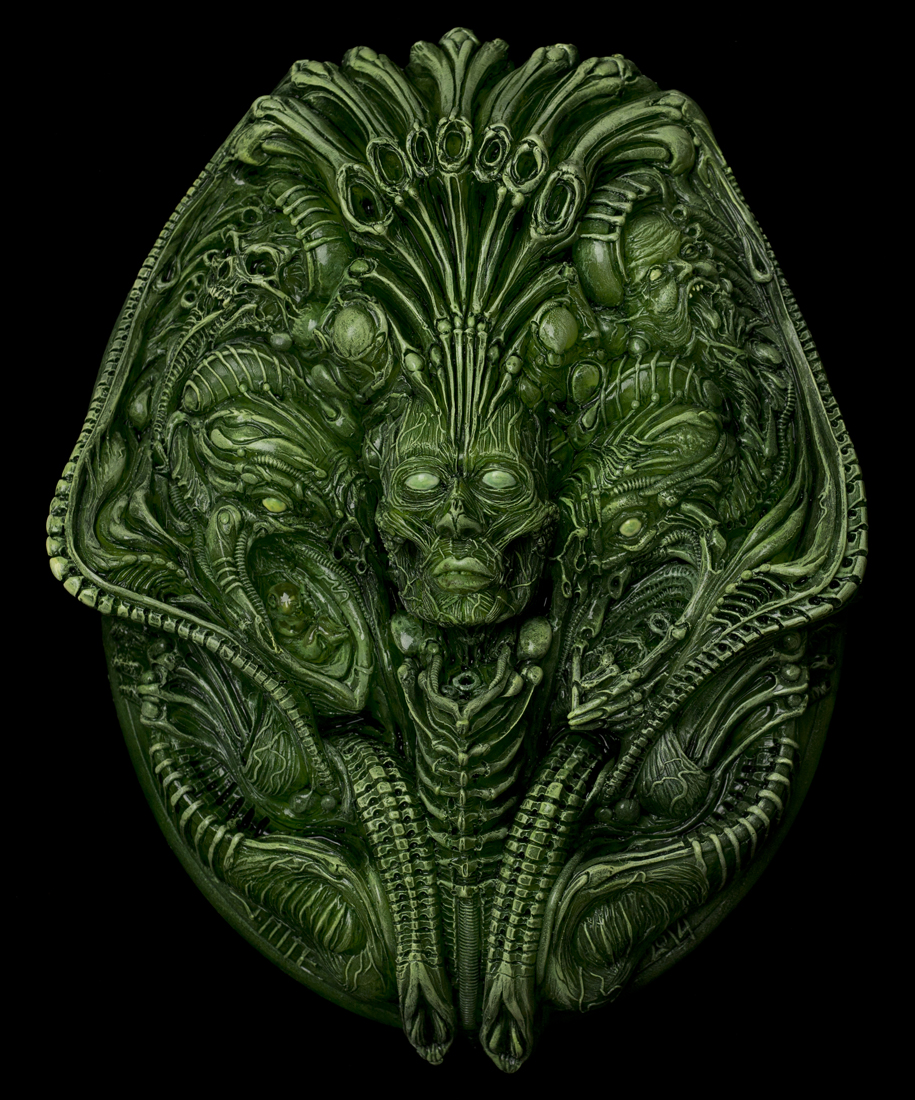
This piece represents the culmination of a lot of things happening in my life. Technically, it was an extremely challenging sculpture that took me a little longer than I anticipated. The mold alone was a real head scratchier. I thought about it for weeks and I didn't quite figure it out until I was making it! All of the light sculptures I created before this one had to be rigged with lights, after creation. With this piece, I actually sculpted in the brackets behind it to fit a specific lighting set, meaning I can make multiples with considerably less light fabrication time. The piece started out very different. As I progressed it slowly changed, but the initial block out process was quick and a lot of fun.
At one point I wanted to make little pods for miniature people I sculpted a while back. I later changed my mind.
Below is a shot of the finished clay sculpture. Can you find the chicken bones?
After the front half of the sculpture was molded, I pulled out the original clay and created a quarter inch thickness of clay inside it to create a the back of the piece. This is where things started to get tricky. The pour spout was a brain teaser, but I deiced that it needed to be at the bottom of the piece. This allows it to be filled from a vertical position, bottom to top without making as many bubbles. You can also see my vents at the top of the piece. These allow the air to escape as the resin flows inside.
Here is a shot of the finished mold.

I used a skull underneath the central face and allowed enough space for it to fit inside of the mold. This allowed me to insert the skull inside before I cast the finished piece.
Finally, it would not have been possible to make this the way I did without my new investment; a 10 gallon Pressure Pot tank. This tank greatly helps to eliminate air bubbles, ESPECIALLY FOR CASTING TRANSLUCENT MATERIAL. The mold fits SNUGLY into that tank. If it were any larger,this would not have worked. Below is a shot of the mold in the pressure pot. Tight fit!
The first casting is born!! Check out how you can see the teeth from the skull underneath the translucent resin!
Painting this sucker is a whole lot of fun! BUT before that, I attached my LED light strips to the inside of the piece. As I mentioned before, I sculpted in special brackets on the inside of the piece to hold some light strips I purchased. Below, it is all lit up without paint. The red bits are supposed to be veins I made using pieces of bright red yearn and 5 min epoxy glue. It wasn't quite what I was going for but it adds depth.
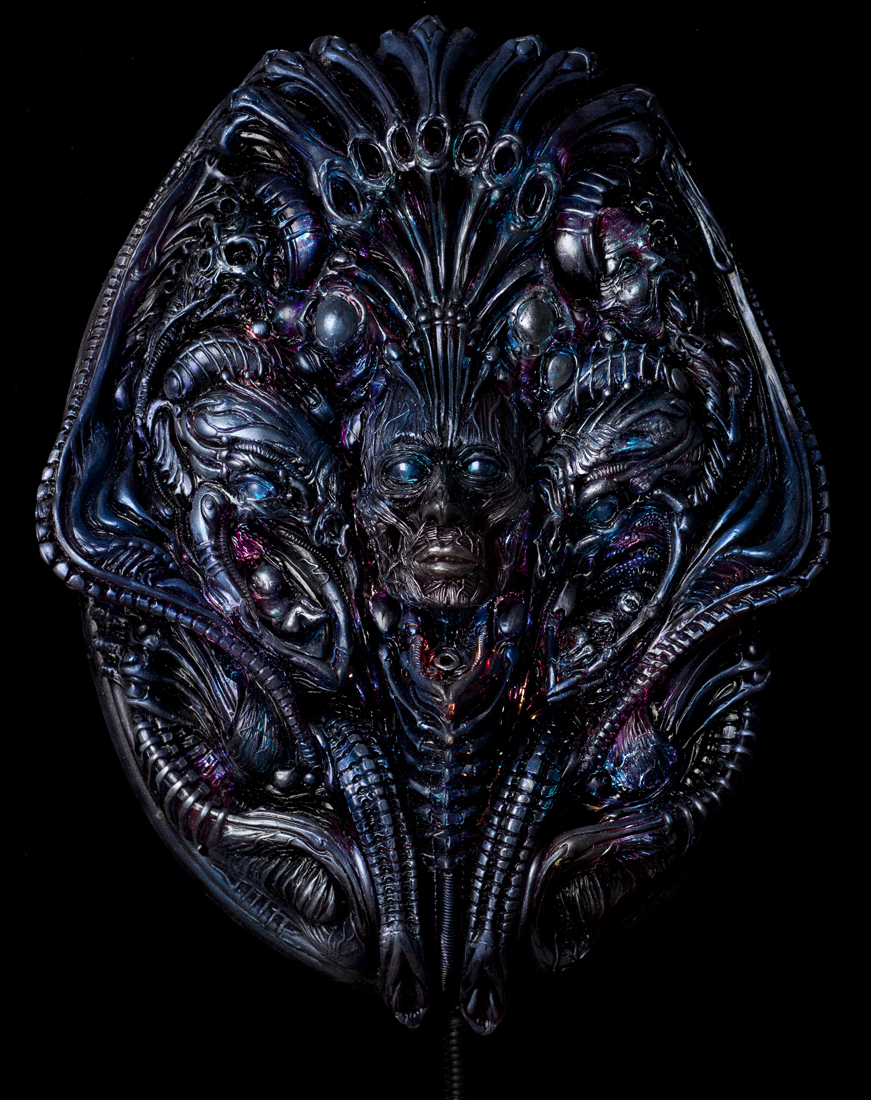
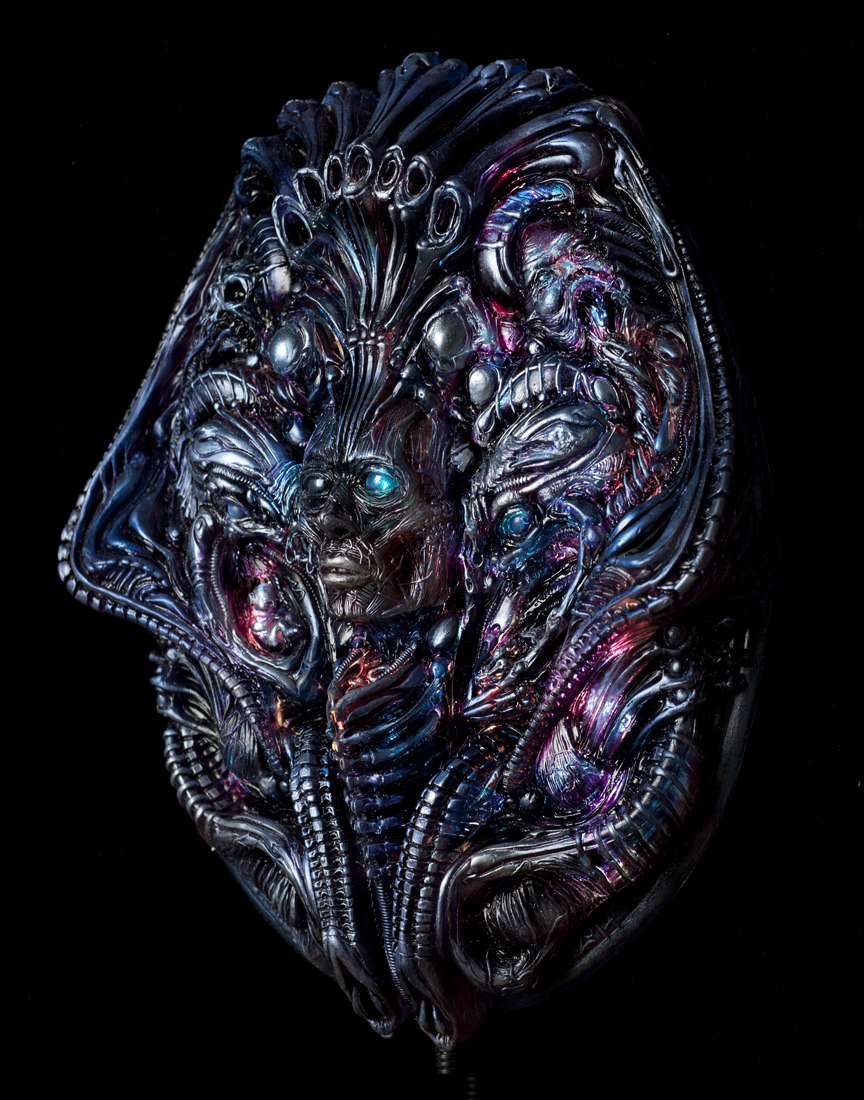
My first paint attempt turned out pretty good. I used DEKA stained glass paints that have to be special ordered from overseas. If you ever happen to get you hands on some, USE A RESPIRATOR MASK, that stuff stinks! Anyway, the goal here is to give it that glow from within look without blowing out all of the detail. It's quite tricky to achieve and I'm looking forward to painting a few more. Below are some shots with the lights on and lights off. The appearance also changes greatly due to the mount of surface light you have on the piece. The images below have a lot of surface light. This piece will be on display and for sale at Crated At The Port of Los Angeles in association with the HP Love Craft Film-Festival and Cuthluhu Con 2014 until the end of October.
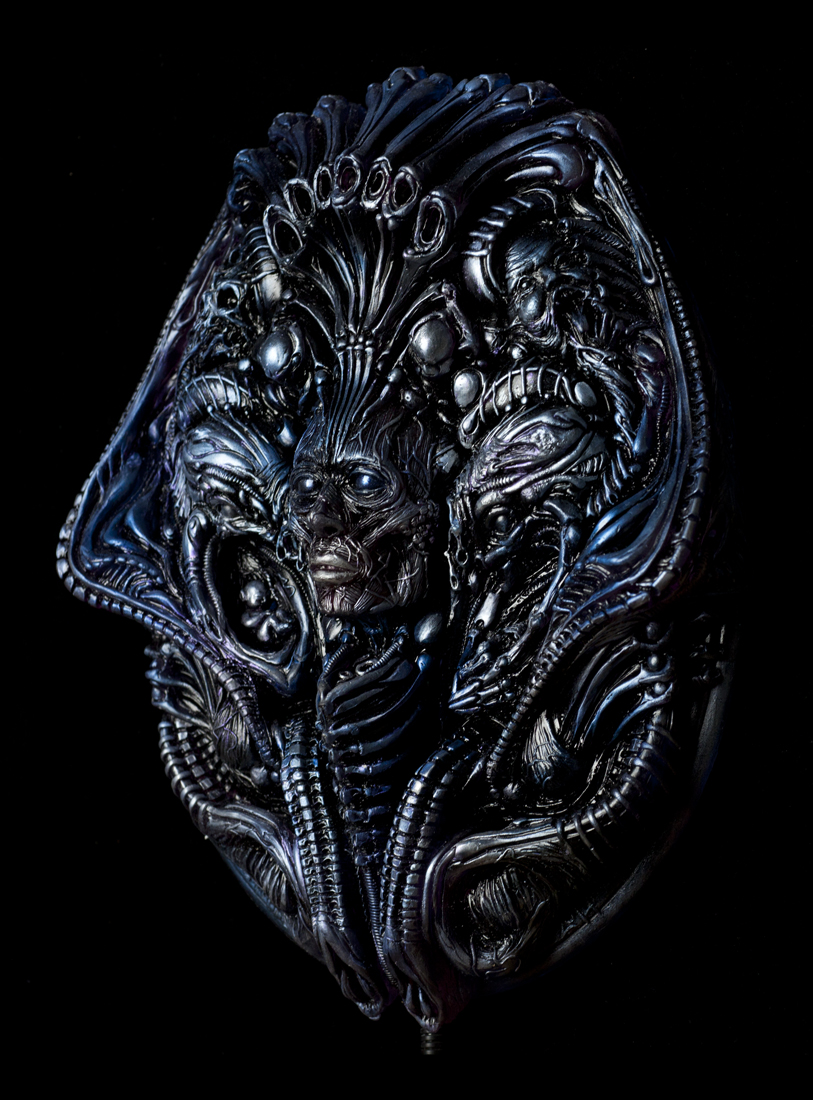
This green version below is for the Auguste Clown Gallery in Australia, my first international show! I call this one "Incorporeal." They are doing a Halloween group show and I am so proud to have been invited to participate.
I wasn't sure if my plug in lights would work in Australia, due to their sockets being different, so this one glows in the dark! Here are shots of what it looks like in darkness with a black light charge.
This last one pictured below is still a WIP for a show at the Copro Gallery October 18th -November 8th. I'm going red, and in this stage all I seem to think about is red gummy bears! Wish me luck!


