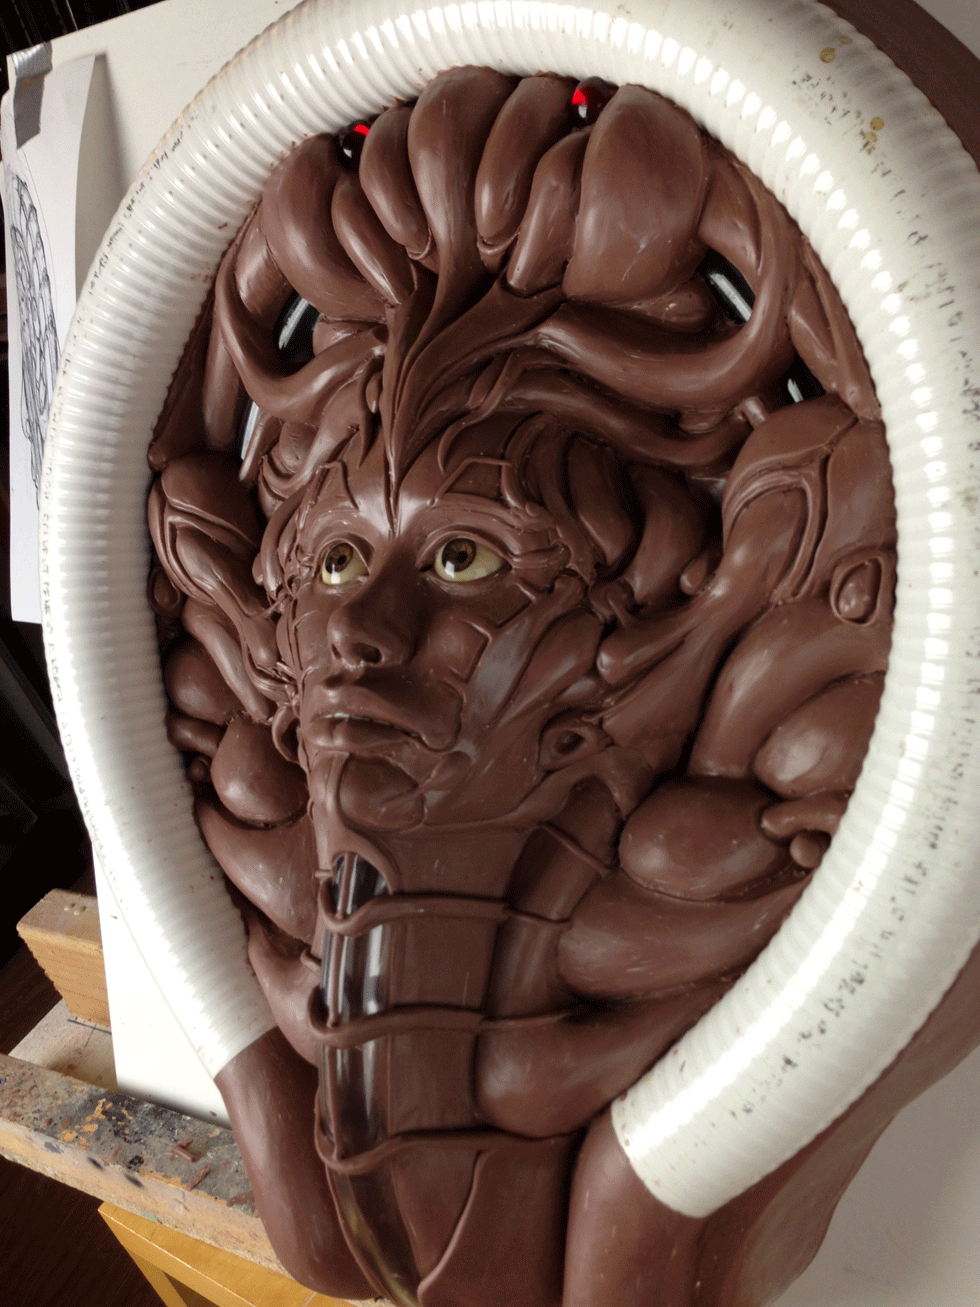
 This new 23" x 18" x 5.5" sculpture, with 71 color shifting LEDs called "BLISS", will be in the upcoming Copro Nason Gallery 20 Year Anniversary Group Show, August 17th-September 7, 2013. Meet Jason and a slew of other great artists at Copro on Saturday, August 17th from 8pm-11:30pm. Below, Jason talks about the creation of the piece from start to finish.
There are those days when I get up and force myself into the action of the day. All the while my body is screaming at me, "No! Too tired!" Or, "We are in too much pain. Stop!!" Yet somehow, I put on a brave face and press on. Then I start to surround every waking moment I possibly can with little escapes from reality. Listening to the radio, audiobooks, streaming television, or playing video and card games like I'm afraid to be in that silence or the stillness of anything or anyone. Before I knew it, it had been months of constant distractions and escapism juxtaposed with endless work. This oddly starts to become routine and addictive. Even now as I write these words all I want to do is go back to watching TV, bombarding my mind with show after show, episode after episode of voyeuristic escapism. Is this freedom or is this a clever cage to keep the mind passive and distracted while the body slaves on? Almost the entire process of creating the sculpture I call, "BLISS", was created in this deranged fashion. My goal was to make something beautiful, but it cost many late nights of planting myself in front of Netflix, or Amazon Prime while I pushed and carved the clay. Don't get me wrong, I enjoyed the process 75% of the time and when I look at this sculpture, I see a woman locked in that blissful TV stare. She has been in that stare for so long, that her body has been absorbed into a machine. She feels no real pain, no real pleasure, no real fear, only artificial bliss.
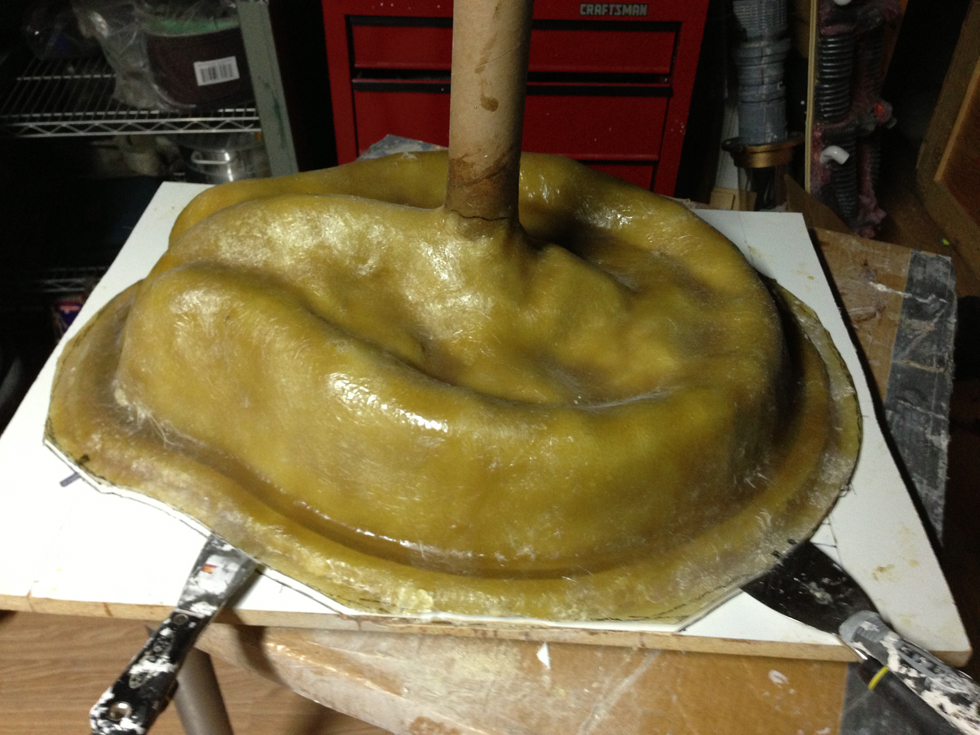
Now that I've blabbed on about my motivation for creating this, I'd like to talk about the actual process. I completed the clay sculpture on June 22. This was followed by my least favorite part, the mold. For this I crated silicone matrix mold consisting of a fiberglass jacket and nice Bluestar 3625 tin cure silicone. Tin cure has its drawbacks but is cheaper and less temperamental than platinum silicones. The above image is right before I took the fiberglass jacket off of the 3/8" clay lay-up over the sculpture.
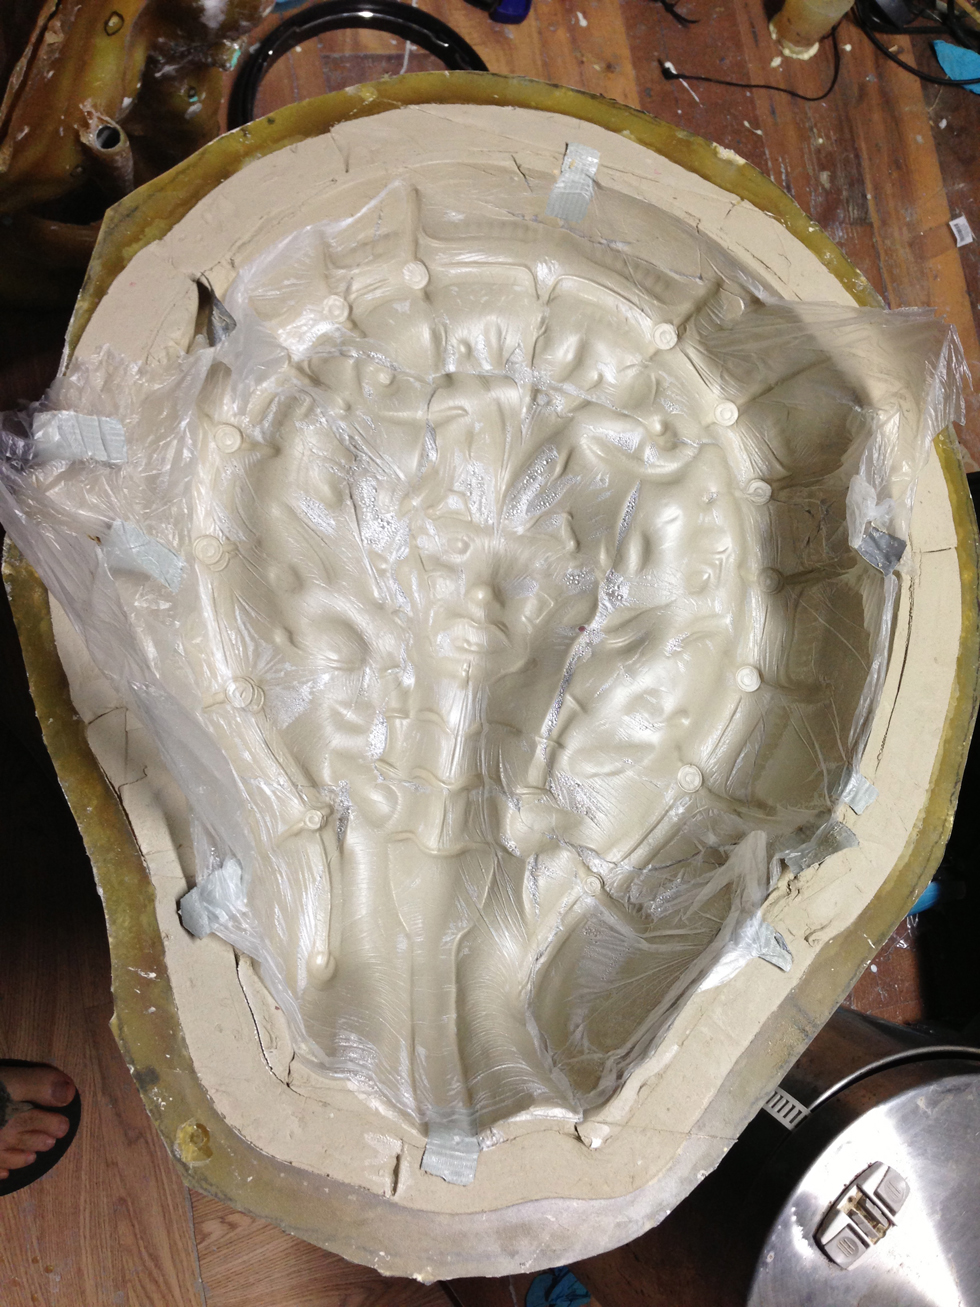
This image is just after removing the jacket. Notice the 3/8" of clay still imbedded into the jacket. When I look at this image, my mind wants to tell me that that is positive relief, not negative, kinda cool. I use a thin plastic to act as my barrier between the sculpture and the clay lay-up. I then removed the clay, and carefully placed the jacket with the now 3/8" cavity back on top of the sculpture and poured the liquid silicone. In 24 Hours, the silicone sets up and I have green rubber gasket that sits nicely in the fiberglass jacket with every bit of detail I created in the clay. This process took me a week or so.
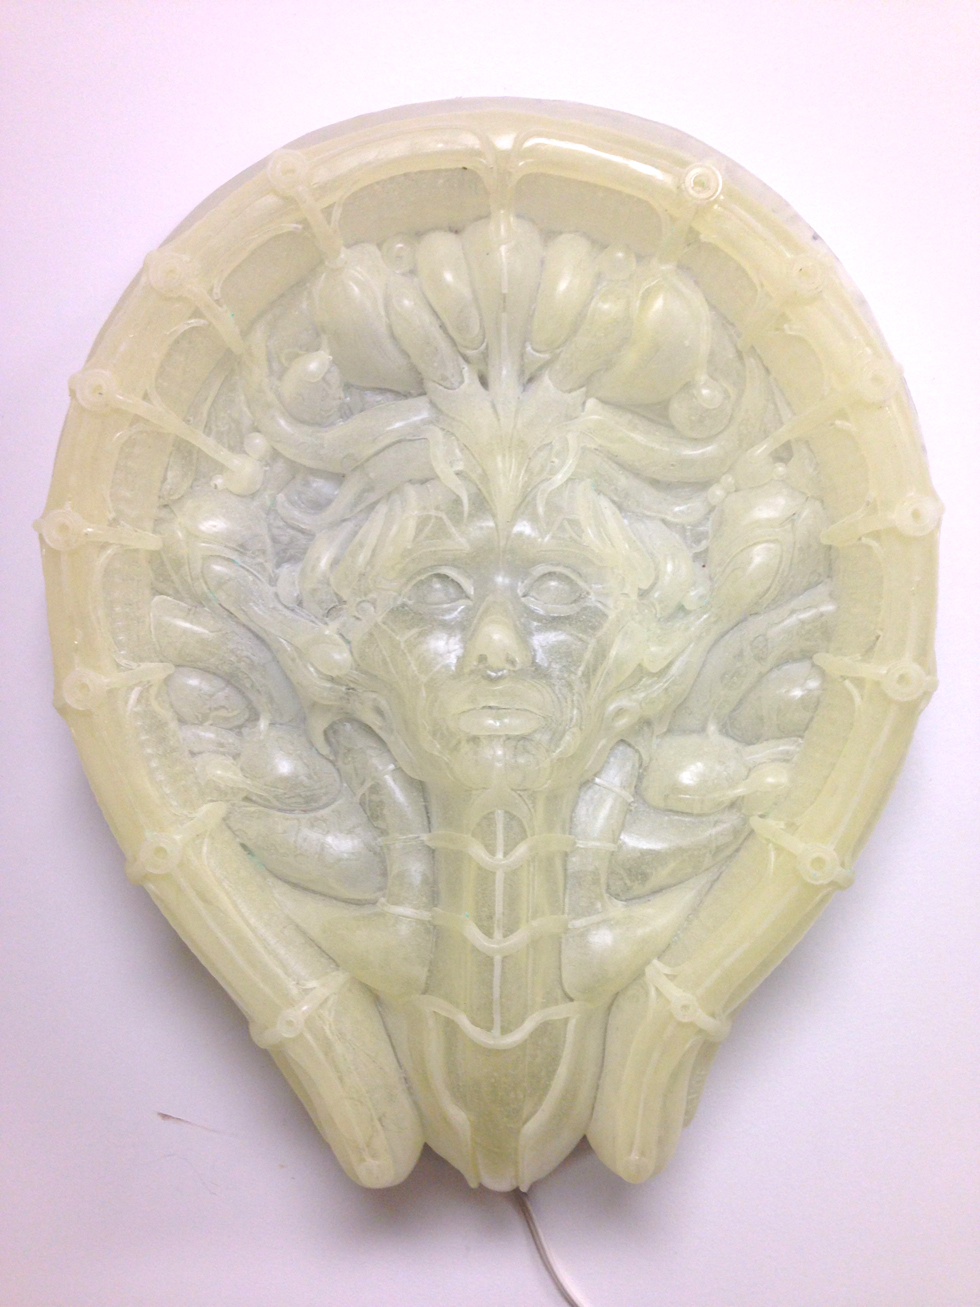
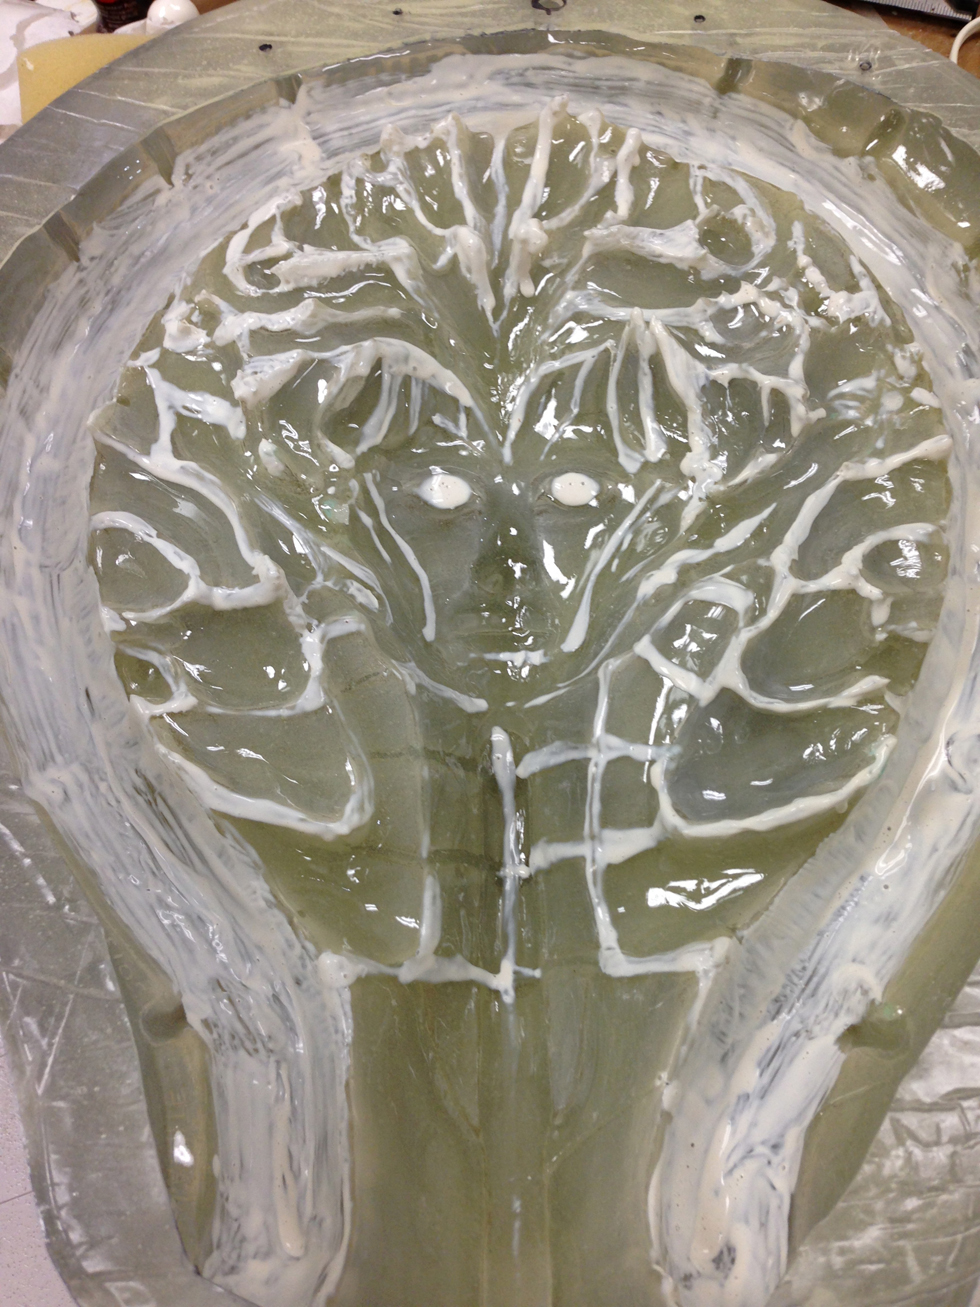
Now that the laborious molding is complete, it's casting time! The pic is of the first raw casting in a translucent resin. This is created with an A&B liquid material that once mixed, will harden in 90-12o seconds. I don't have a rotational casting machine so, in order to get an even coat and thickness I had to hand rotate 3 batches of approximately 700 grams of material. This is where having a nice light fiberglass jackets saved Jason's back! Some people use heavy plaster.
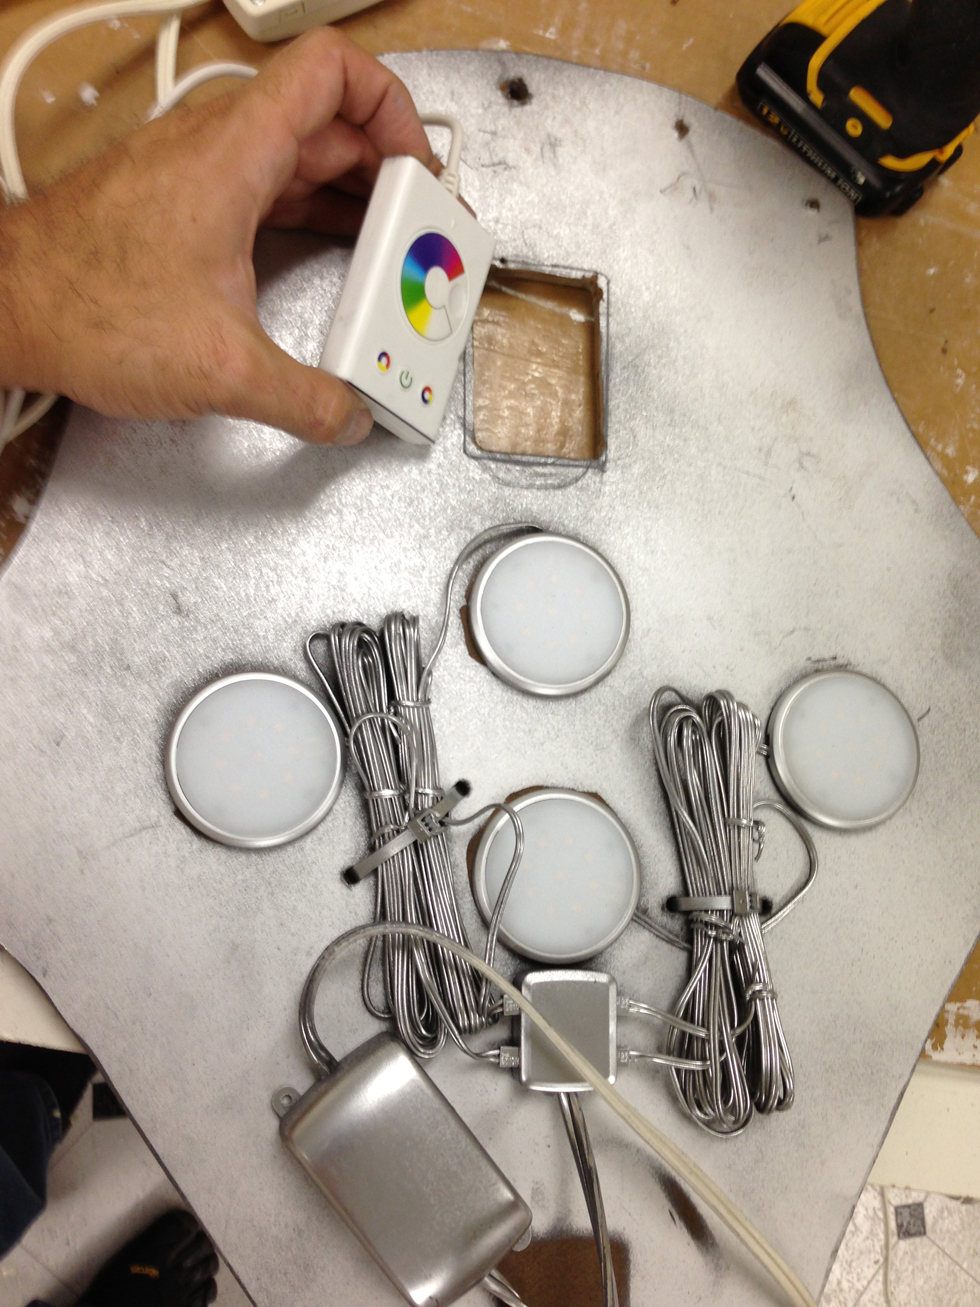
Next I created a simple 1/4" pressed hardboard backing to hold and hide my lights and control box. I find that painting it silver gives the best reflection.
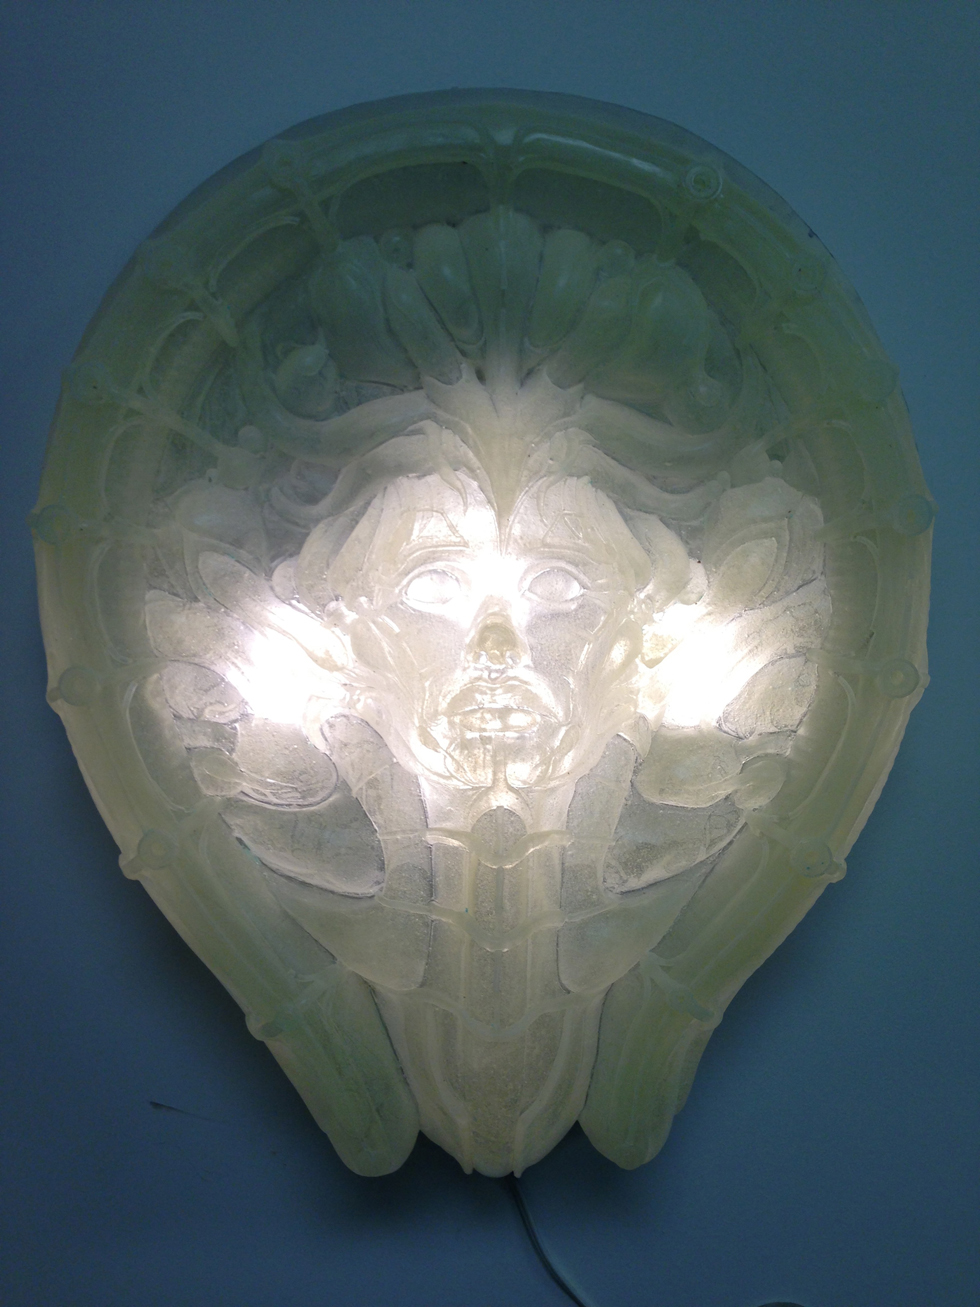
Here is a raw, step one light test. Upon seeing this, I started banging my head against the wall as to how the heck to paint it to hold the detail but not totally obscure the light.
I found my answer with silver "Rub n Buff". By coating the high points of the sculpture with paint and ignoring the crevices, I thought I might have something.
The only drawback to the Rub n Buff was the opacity. As soon as I turned on the lights, goodbye silver, hello washed-out mess. My solution was to turn the piece on its backside and again, paint the high points with latex to mask the area I wanted light to come through. Hence I can then paint in an opaque black backing so the silver would show up on the front.
Once the black backing coat was done, I removed the latex and put a clear coating of blue, catching the exposed areas. Here, you can see that and the zip ties securing the rim lighting LED strip.
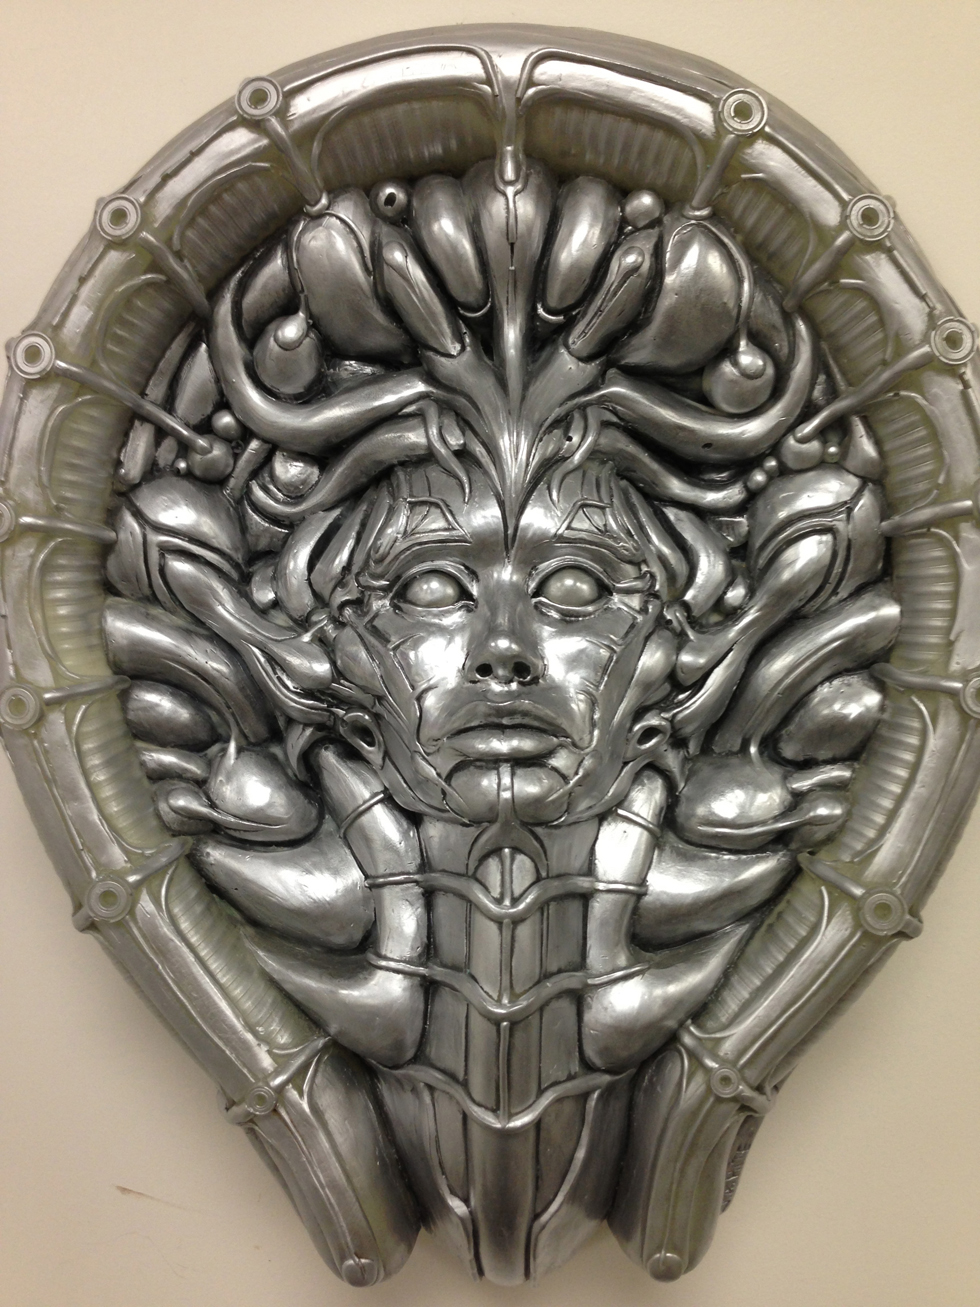
Here is the final piece. Below are some shots I took while the LED rim light ran through its cycle.


